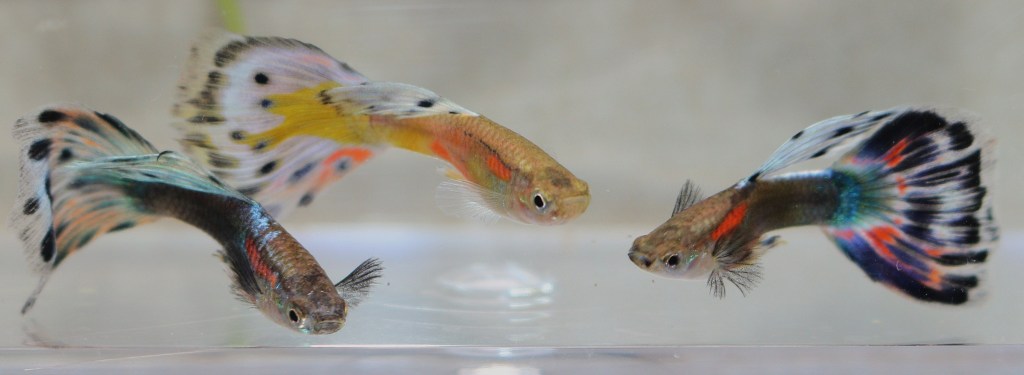
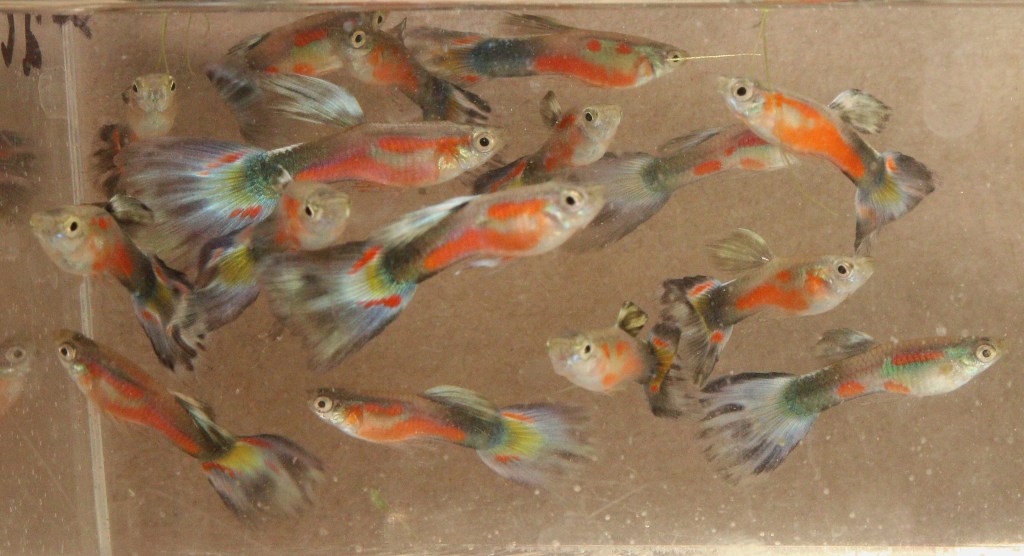
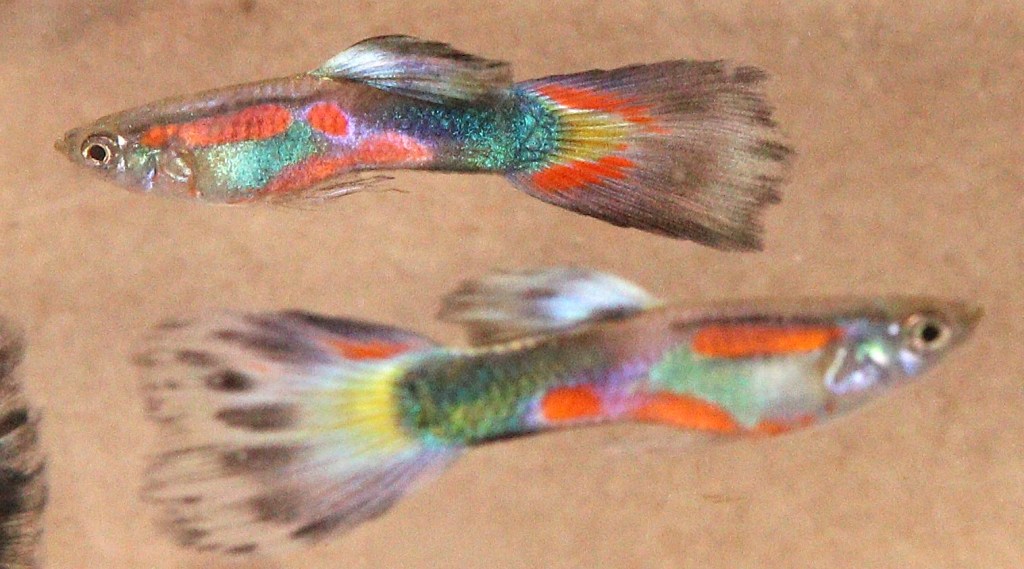
Recently, I crossed my Rainbow guppies with Santa Maria Endlers to increase their fitness. It is too early in this project to report on any fitness improvements. However, I can say that I am delighted with the initial phenotype results. The first generation (50% Rainbow and 50% Endler) produced a mixture of phenotypes but no significant problems; the second generation (75% Rainbow and 25% Endler) produced plenty of gorgeous, Rainbow-type individuals (Figure). Attached article explains the importance of choosing which sex to use for the outcross, “sperm turnover” time, etc. It also discusses inbreeding’s effect on fitness–a sorely neglected subject in the aquarium hobby.
Second-generation Hybrid Males (75% Rainbow and 25% Endler)
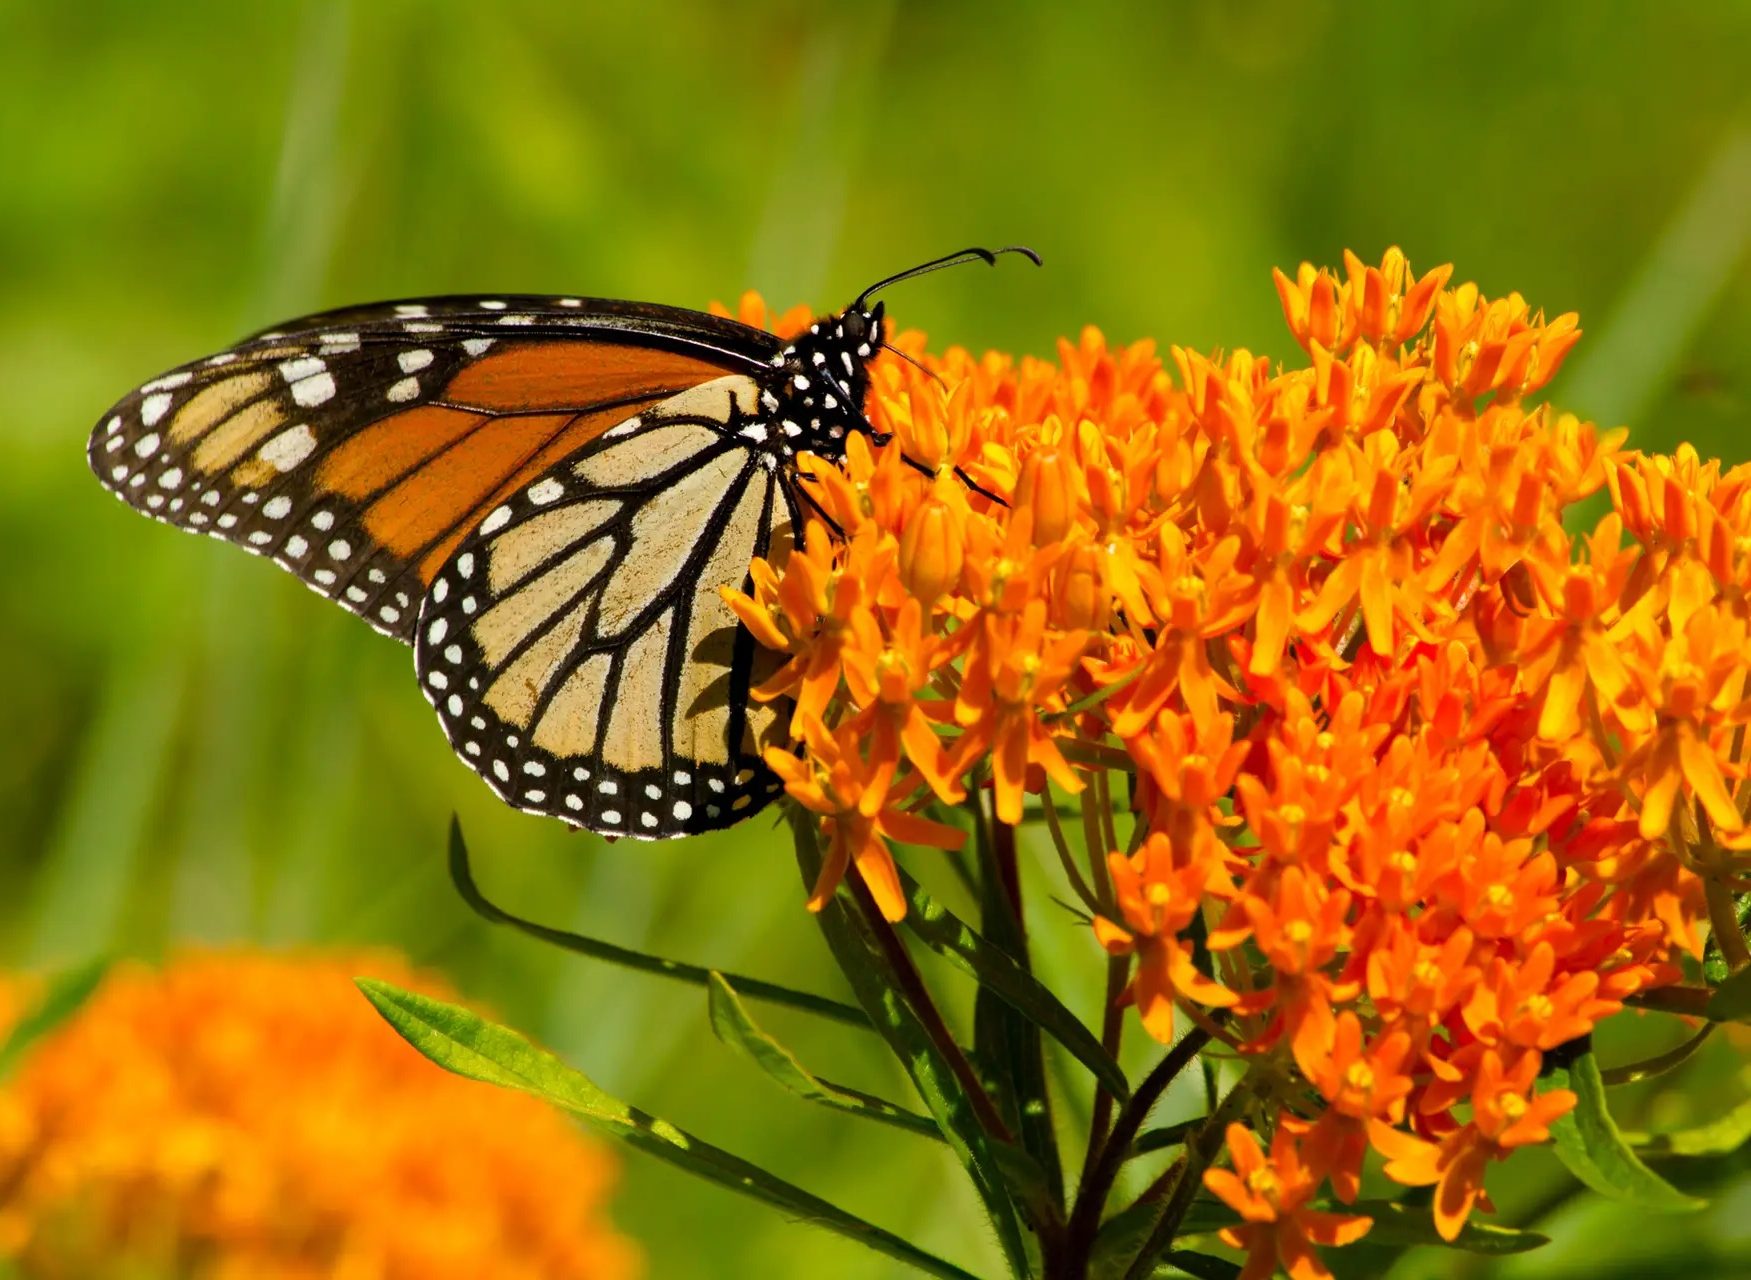
The Monarch butterfly requires the Butterfly weed and other milkweeds. The female lays her eggs on these plants so that the baby caterpillars will have the right food. The caterpillars eat milkweed leaves which contains toxins to protect them from birds. Makes the birds vomit teaching them not to eat Monarchs. This symbiotic relationship between milkweeds and Monarchs is critical to Monarch survival.
Monarch Butterfly on Butterfly Weed
Thus, I now have a small, long-term project to expand my wildflower plot and grow Butterfly weed. Eventually, it may catch the eye of some Monarchs while migrating North from Mexico in the Spring.
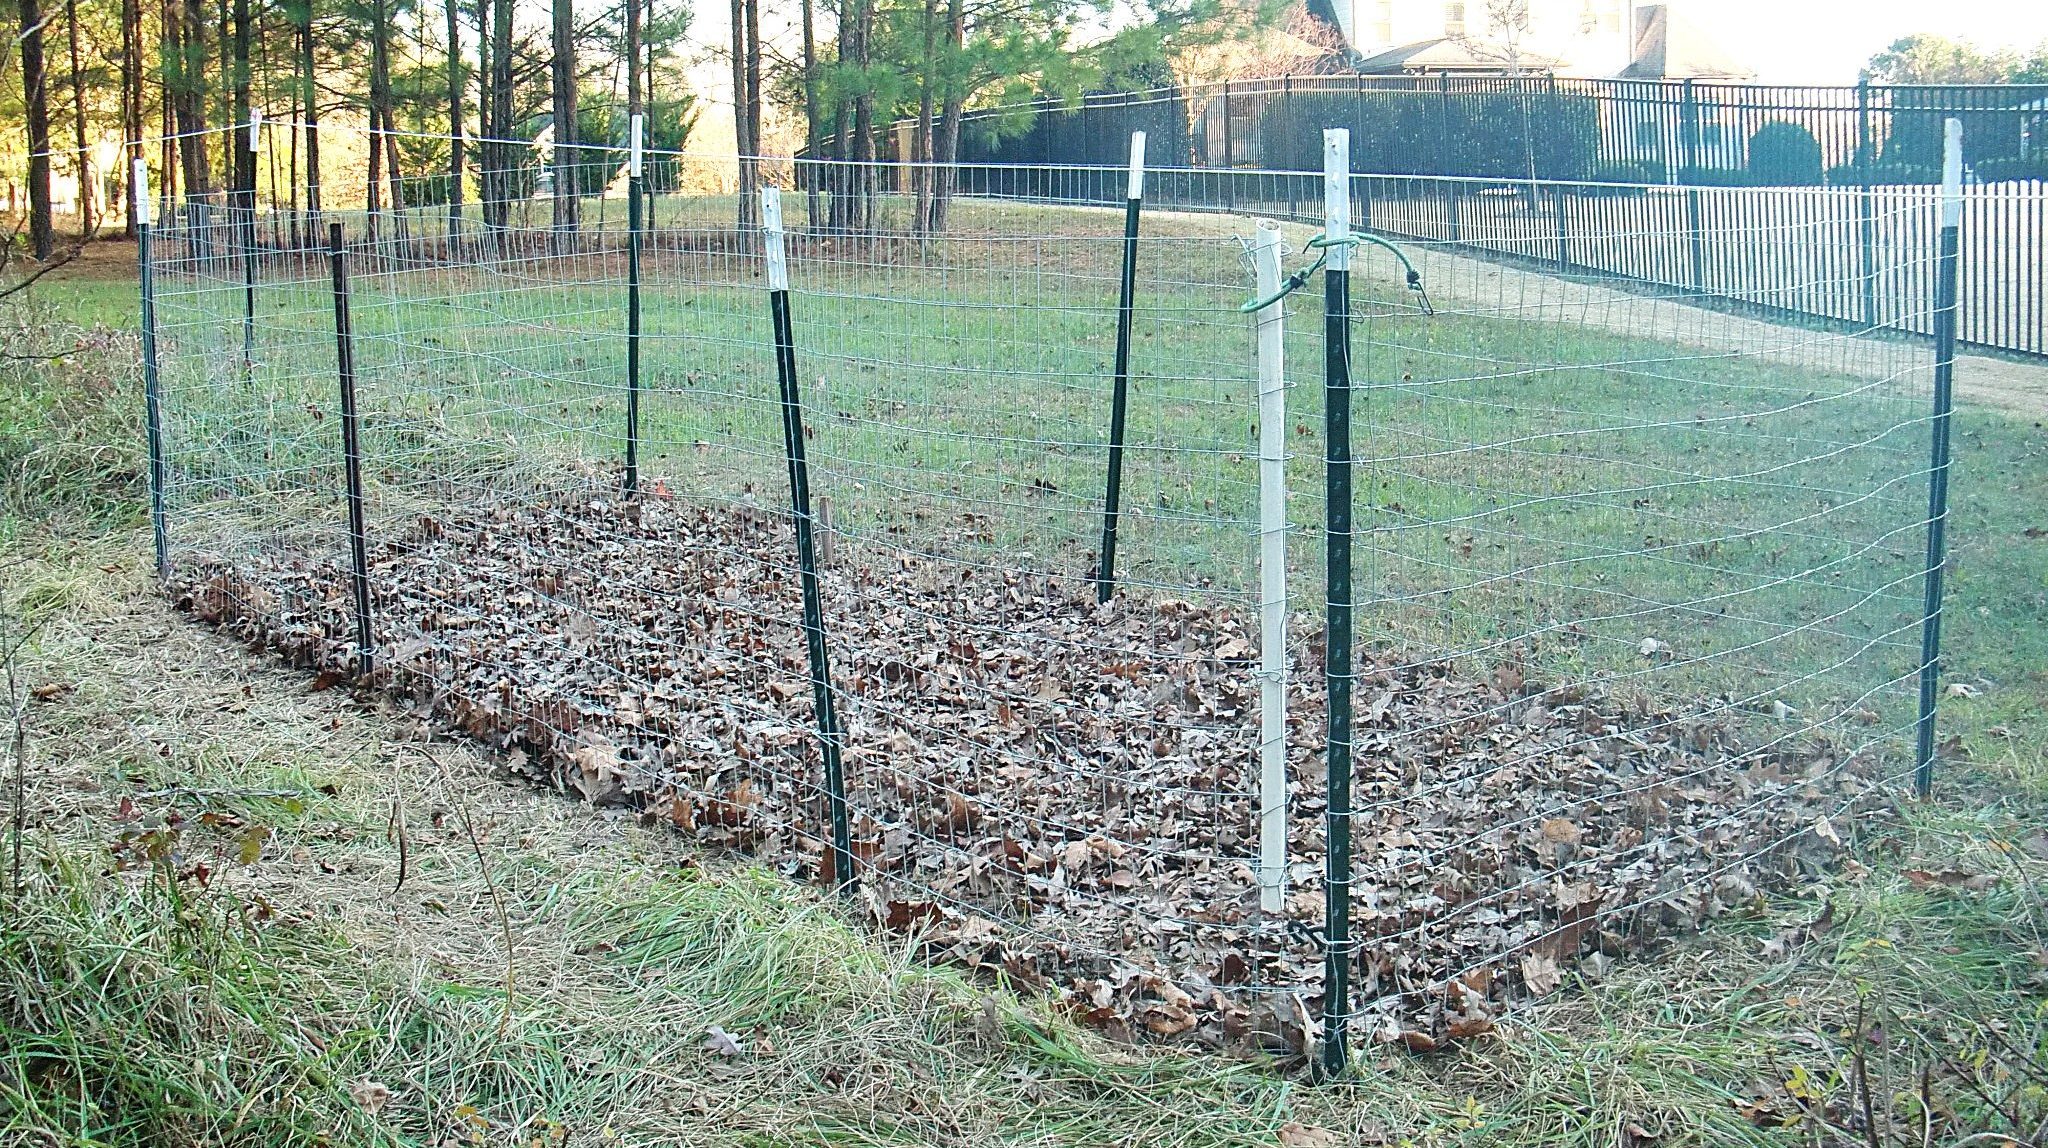
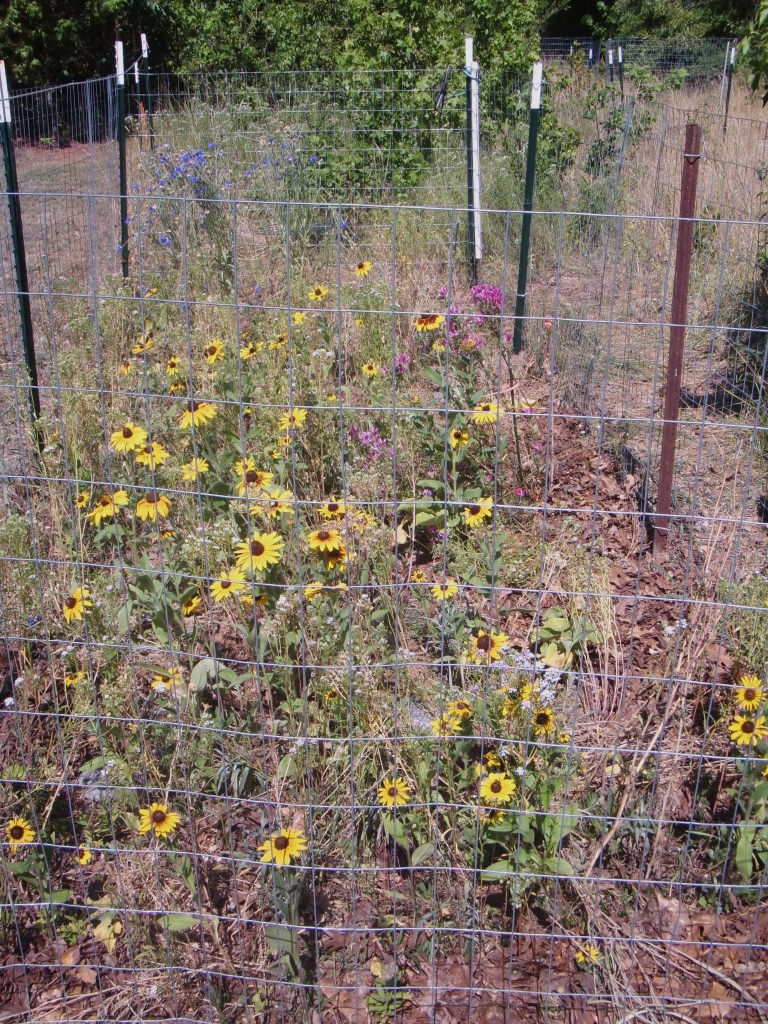
Last year (2026) during summer, I cut the weeds/grass down to the roots. Then, I covered the ground with black tarp to cook and kill the grass roots in the summer’s heat. In late November, I hoed the ground, put a wire fence around the plot (to keep deer out), added bone meal and seeds. I got seeds from all over—hardware stores, Eden Bros. Perennial Wildflower Mix, and those I collected along roadways. In my opinion, you cannot have enough seeds or plant species! (Easy enough to thin plants out later.) Then, I covered the ground with dead tree leaves to shelter dirt/seeds and let it sit over winter.
Wildflower Plot Seeded and Ready for Winter (Photo: Nov. 28, 2025)
Key things: choose sunny spot, protect from deer, plant in late Fall, and water in the Spring as needed.
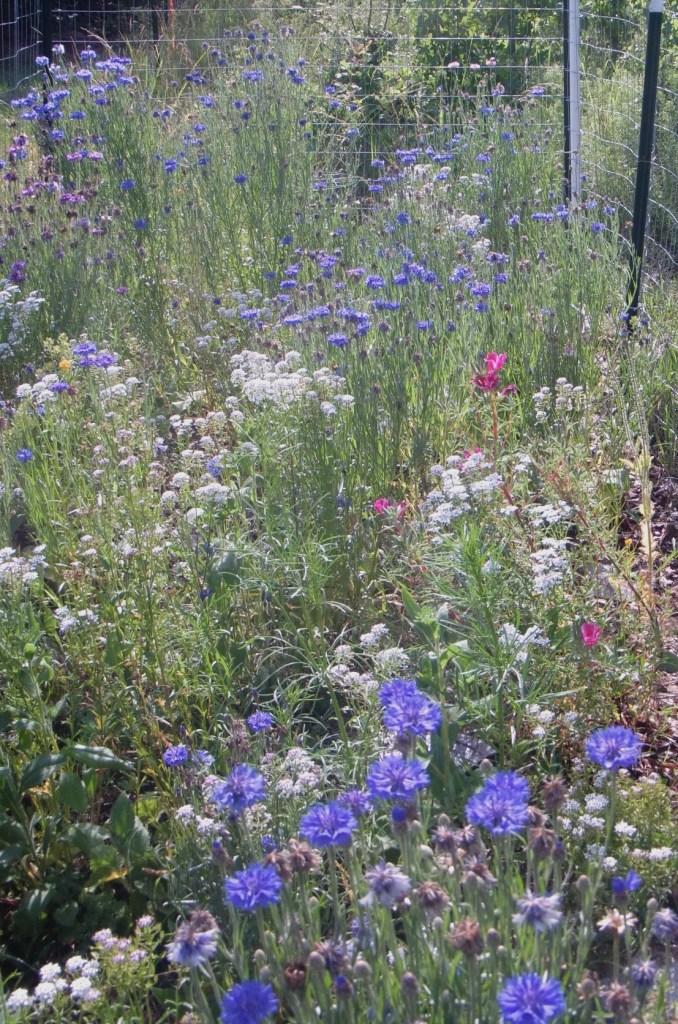
Results were fabulous. Every month this spring, I got different flowers. Little plot became a hotspot for bees, animals, butterflies, and hummingbirds. This year, I am expanding my plot for planting Butterfly weed, Bee Balm, and other wildflowers I have not yet met.
May 31, 2026 Batchelor Button and other beauties.June 16, 2026 Sunflowers Dominated in June
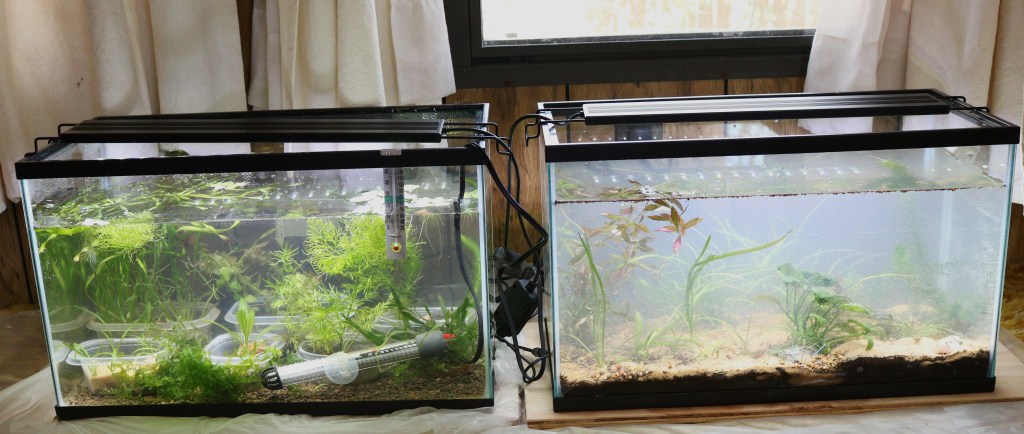
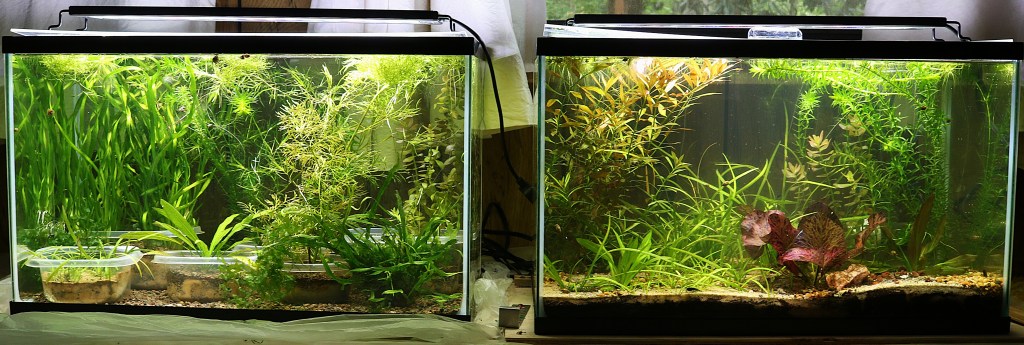
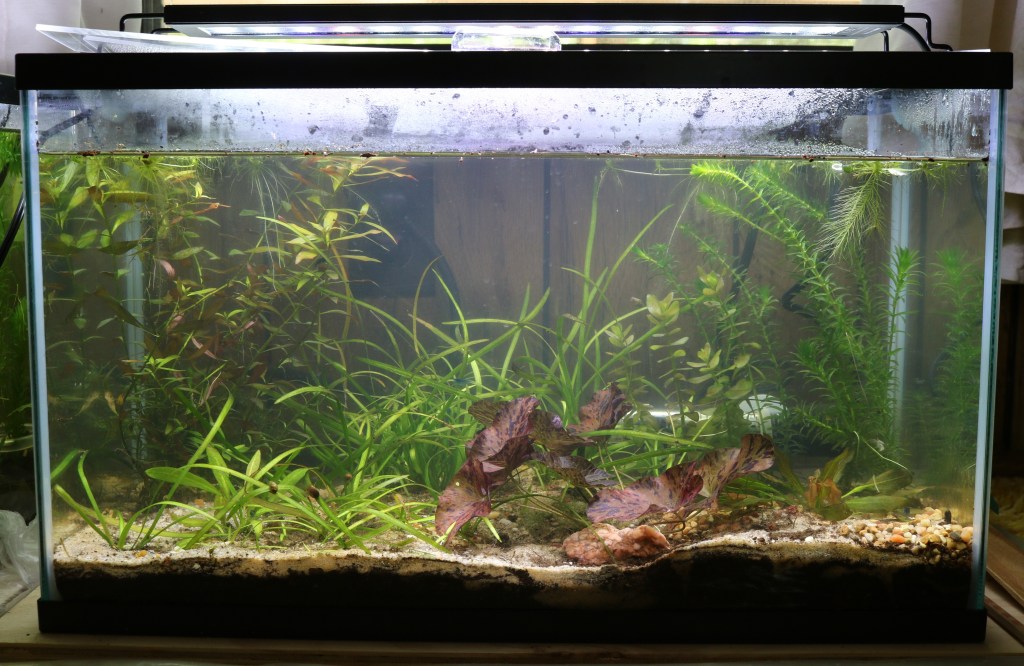
The two tanks I set up a month ago for the big Expo on May 2 are ready for their road trip to Charlotte, NC to be displayed and then auctioned off. Pictures show tanks at setup and after one month. Plant growth is good. Readers please note that there are no filters or aerators. Do not need them in these tanks with their shallow depth, lots of good-growing plants, and a soil underlayer. Plants grow better without filters and aerators that just remove the ammonia and CO2 that plants like.
Photo Taken 3/29/2026. Tank (left) for breeding fish set up 2 days ago; ‘Walstad Method’ tank (right) set up just hours ago.Photo Taken 4/29/2026. The first month is always a race against time. Rooted plants need to take hold quickly to counteract “soil chaos” and outcompete algae. Looks like they have succeeded!
Tank on left (setup for fish breeding): I easily caught the 40 juvenile guppies that I was raising in it temporarily by removing all the little plastic pots with their plants. Plant growth in the bone-meal fertilized garden soil is good; I have had to trim the Vallisneria heavily and remove excess floating plants. Otherwise, they would take over the tank.
Tank on the Right (typical “Walstad” tank with soil underlayer): Plants and the ~15 Blue Dream Shrimp I added 3 weeks ago are doing quite well. (Will sell them with the tank.) I think that the substrate fertilization (See previous post) helped. (The potting soil I chose as the soil underlayer was perhaps a bit too infertile; its NPK was only 0.08/0.03/0.06.)
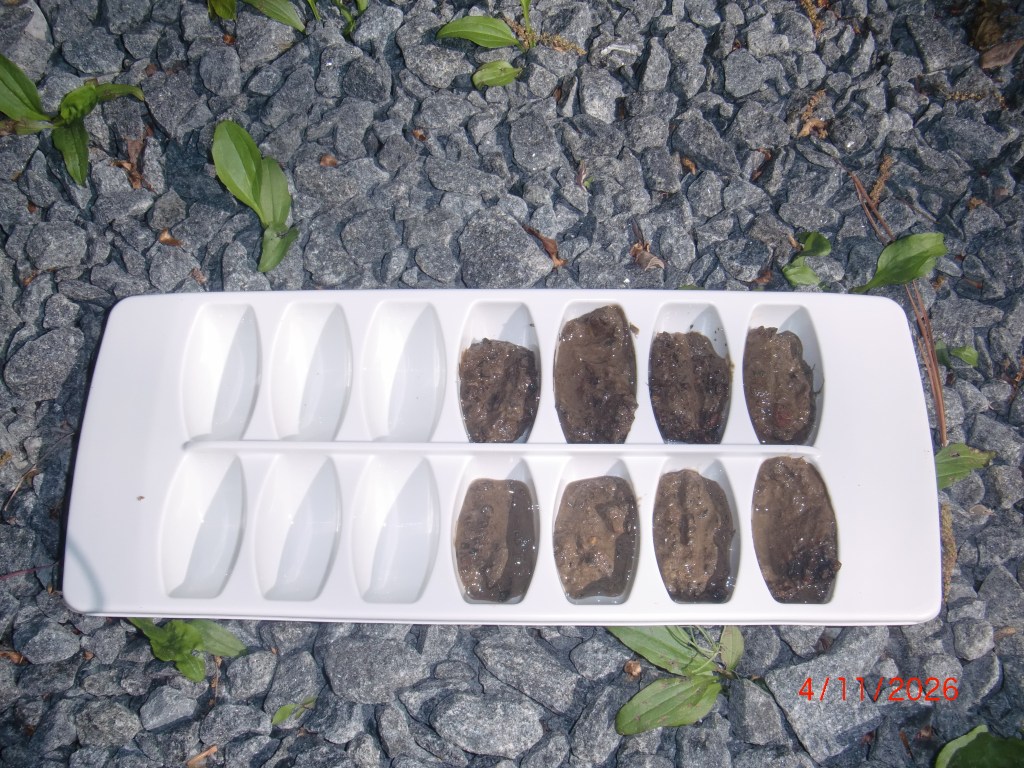
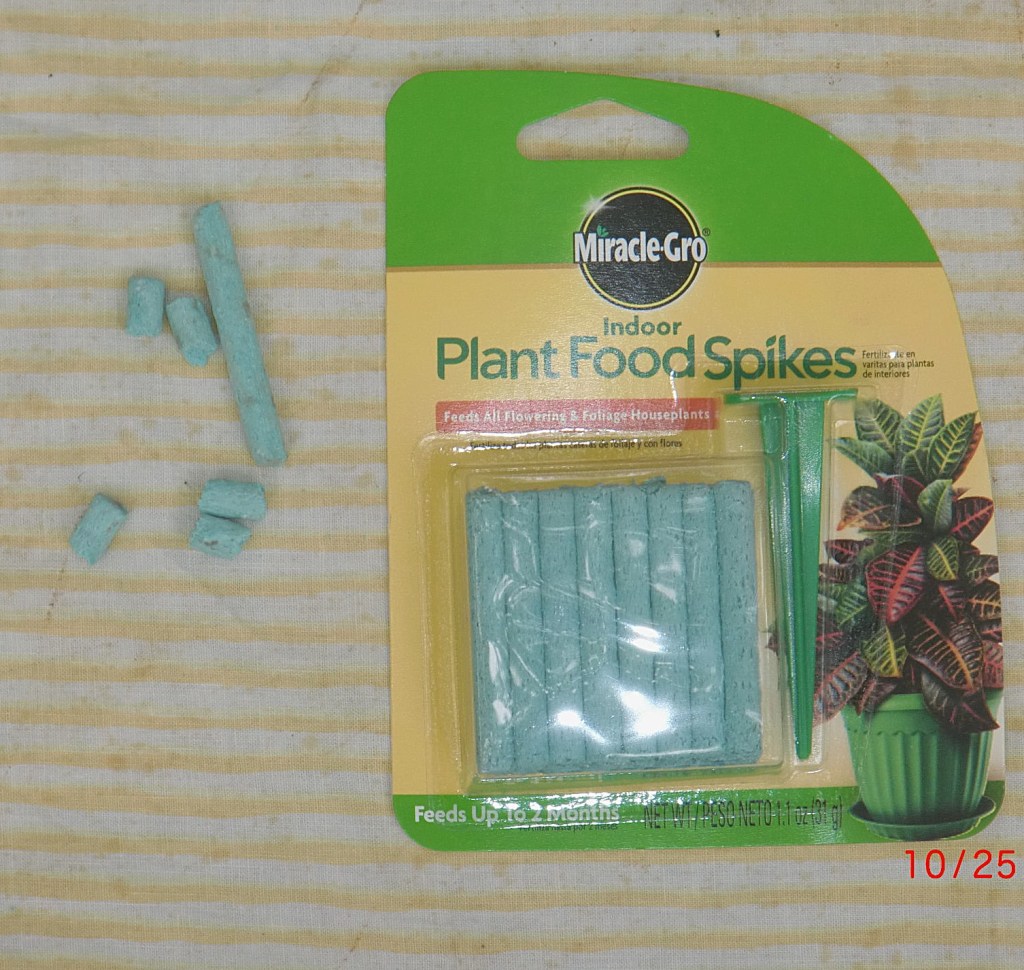
In preparing my tanks for the May 2, 2026 Expo (See previous post), I noticed that the plants in the tank with a potting soil substrate were not growing as enthusiastically as plants in the other tank, which were in garden soil. What to do? Good rooted plant growth is key, and fertilizing the water just encourages algae. Unwilling to tear tank down and put in a new substrate… In a panic, I finally tried something mentioned many years ago on Aquatic Plant Central–insert frozen cubes of soil into the soil underlayer. So I froze cubes of my rich garden soil (Piedmont clay topsoil plus bone meal) and did my best inserting the cubes into the soil before they thawed. For good measure, I also inserted small pieces of 3 houseplant fertilizer sticks. Also replaced rock and attached Anubias nana with the beautiful Red Tiger Lotus. Results encouraging!
Cubes of Wet Garden Soil ready for freezing. I inserted these into a potting soil underlayer in the 10 gal tank where rooted plants were not growing that well.I also inserted pieces from three of these sticks throughout the potting soil underlayer. Redo of the Tank with added soil cubes, fertilizer pieces, and a Red Tiger Lotus in the center. Afterwards, a 30% water change and a little washed sand and gravel took care of the substrate disruption. Photo shows tank one day after the redo. It’s fun to play with soil!
Preliminary results from crossing my Rainbow guppies with Endlers (Santa Maria strain) turned out much better than I expected, especially for the male Rainbow X Endler female matings. See photos of hybrid males at 3.5 months. LOTs of color! Females are also nice in that they have plenty of pigment in their caudal and dorsal fins, which the Endler females did not have. [Progeny from reverse cross (male Endlers X Rainbow females) were not nearly as attractive.]
I did this outcross, because my Rainbow guppies have had fitness problems last 2 years, probably due to accumulated inbreeding. Hopefully, infusing genes from these hybrids into my Rainbow stock will help prevent fluke outbreaks and increase longevity. Long-term project…